
 When our firstborn was a baby, I barely had time to eat, shower, and sleep. Baking her a cake seemed out of the question. But twelve years, three kids, and 28 birthday parties later, the cake has become a highlight! Not because I’m Cake Boss – I’m a terrible baker, really – but because my kids love it. (They’re easy to impress.) Here’s how we do it:
1. Choose a theme
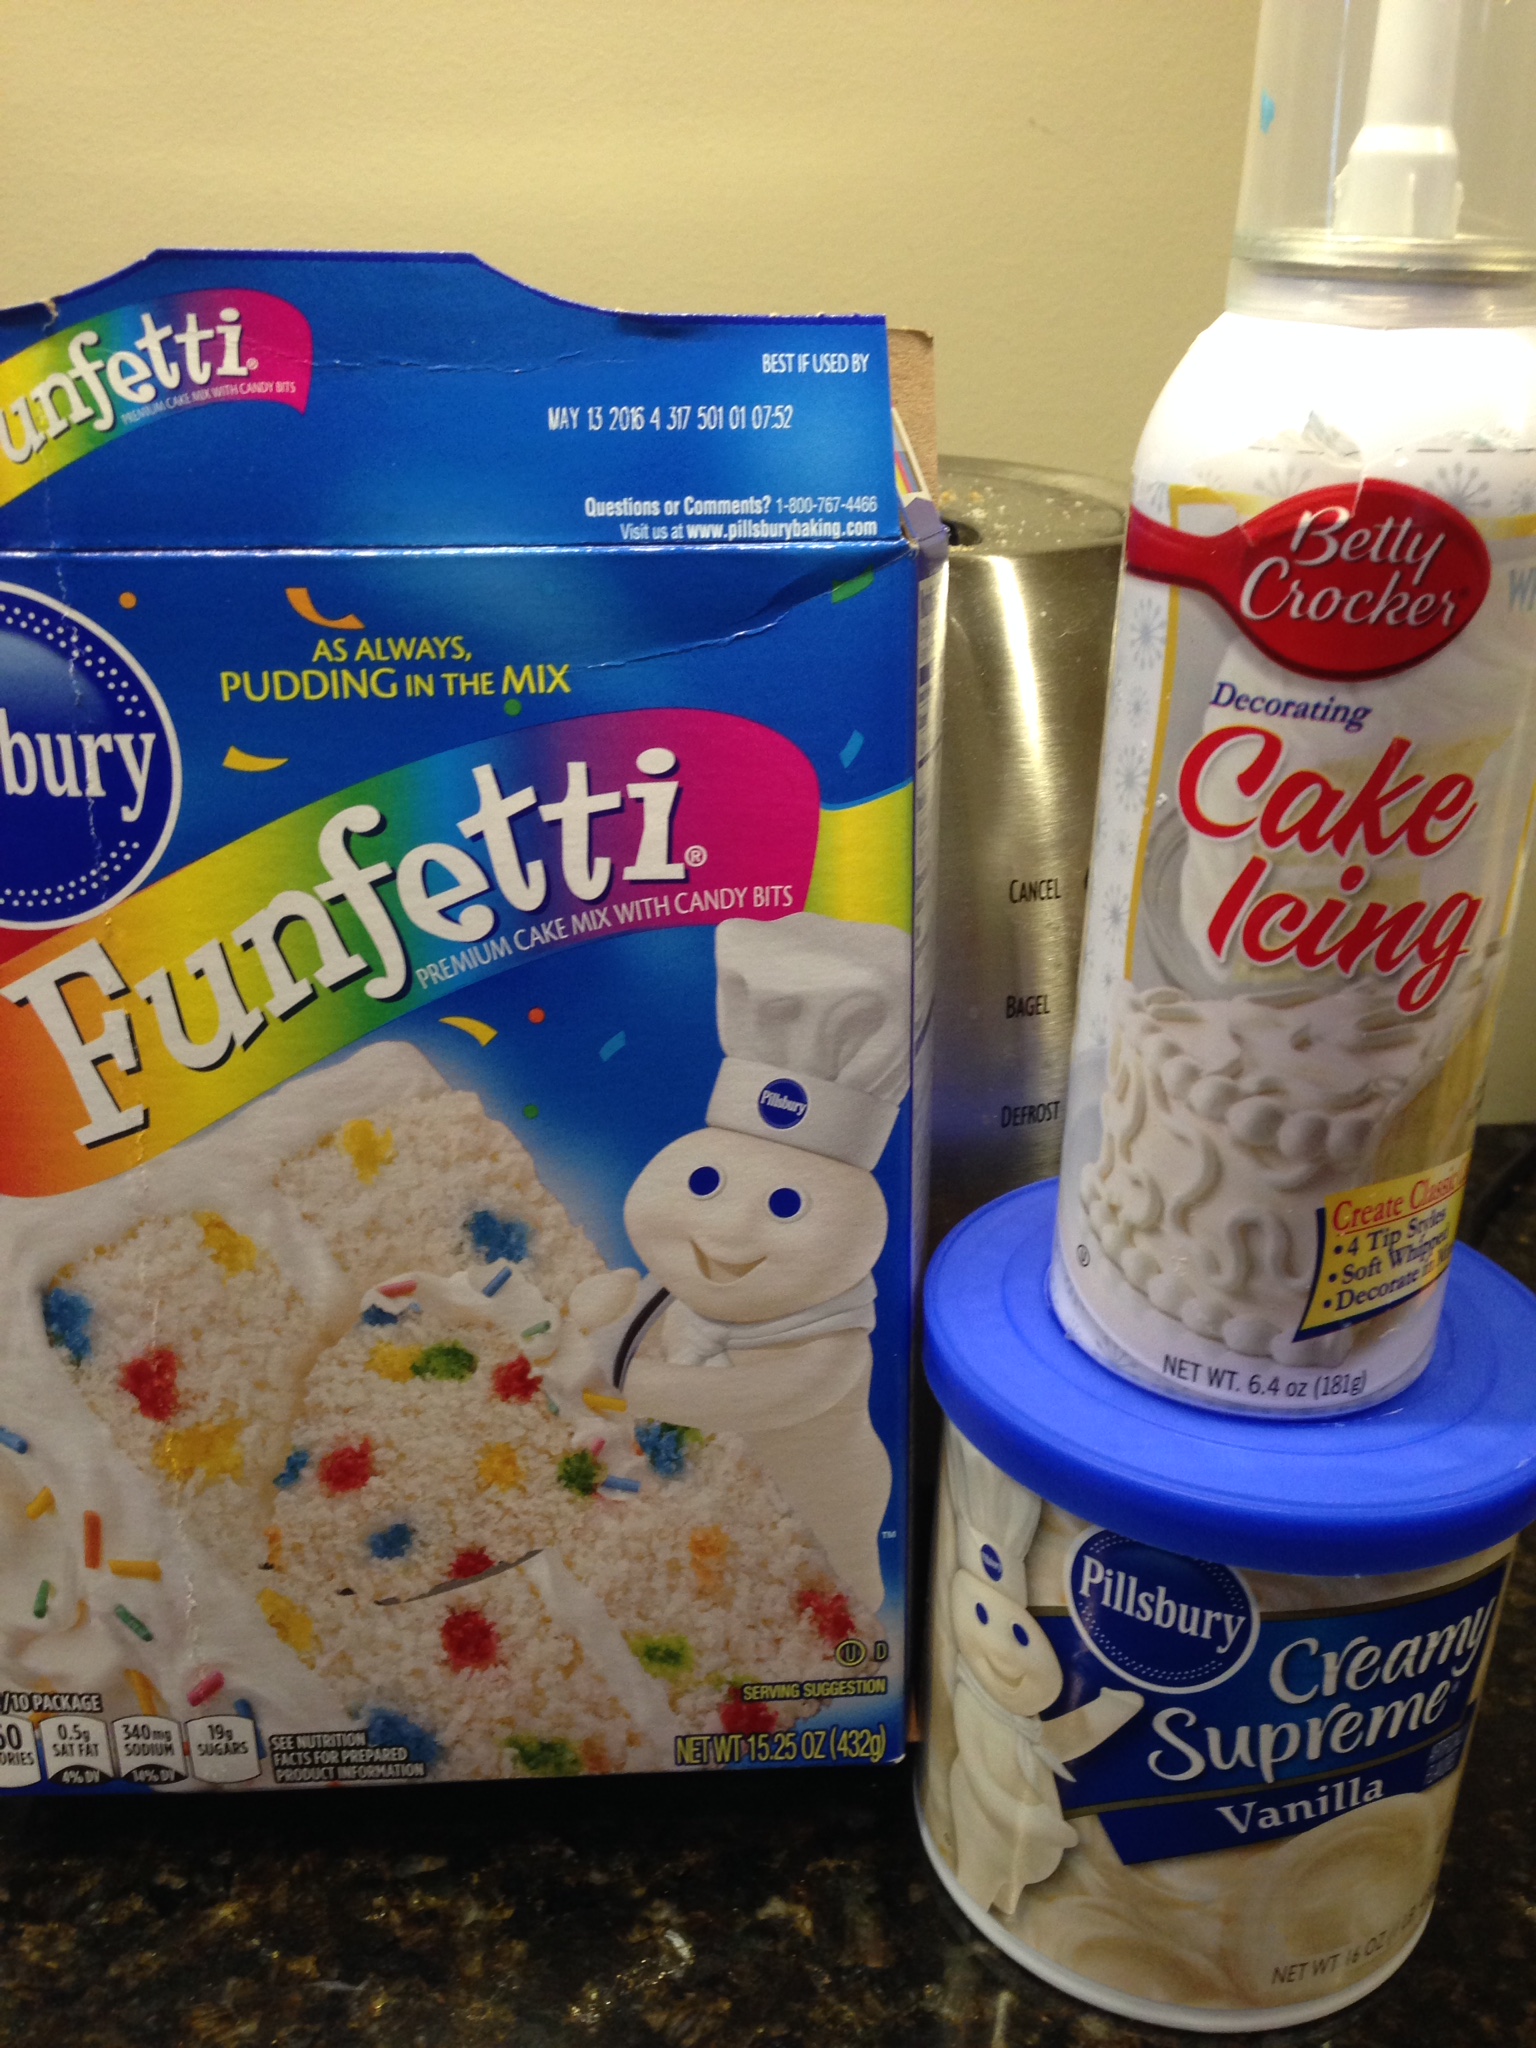
The kids seem to know what they want before I ask them. We’ve done pony, jungle, doll, dog, horse, roller skate, pirate, panda, bunny, Minecraft, etc. This year for my daughter’s twelfth birthday she decided she wanted a “12” cake. She also asked for confetti cake with purple and blue frosting. I’m all for keeping it simple—do not hesitate to grab a box. Here are the supplies I picked up: cake mix, icing, and this handy little can of cake icing for details. They come in all different colors and have cool tips.
2. Sketch it out on paper
Kids love this! Troll the internet for example pictures. Don’t limit yourself to pictures of cakes. Anything goes.
3. Bake cake
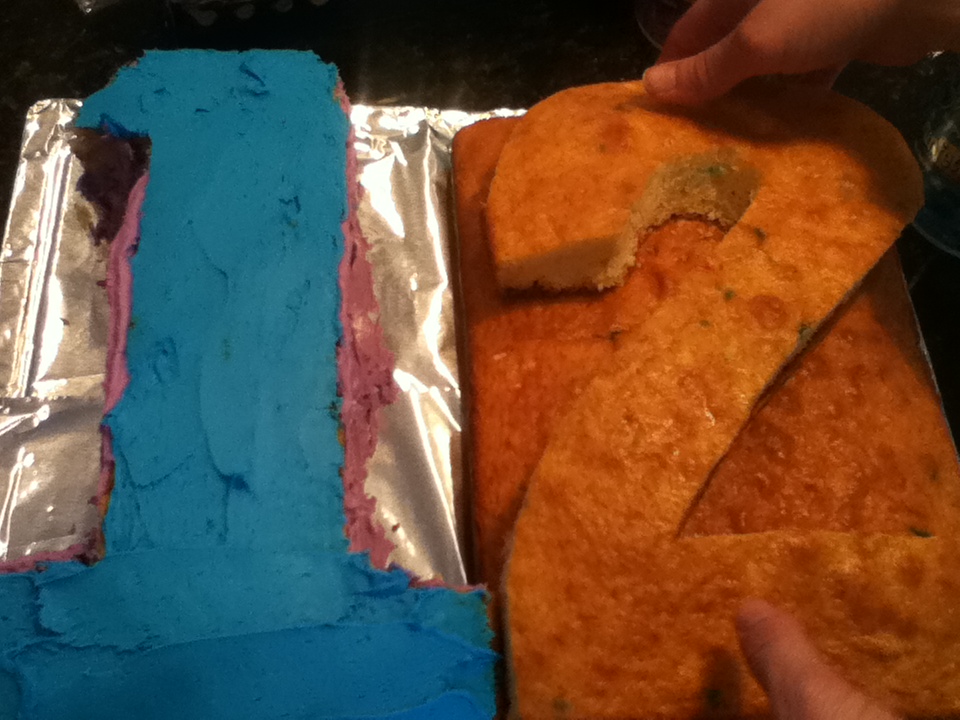
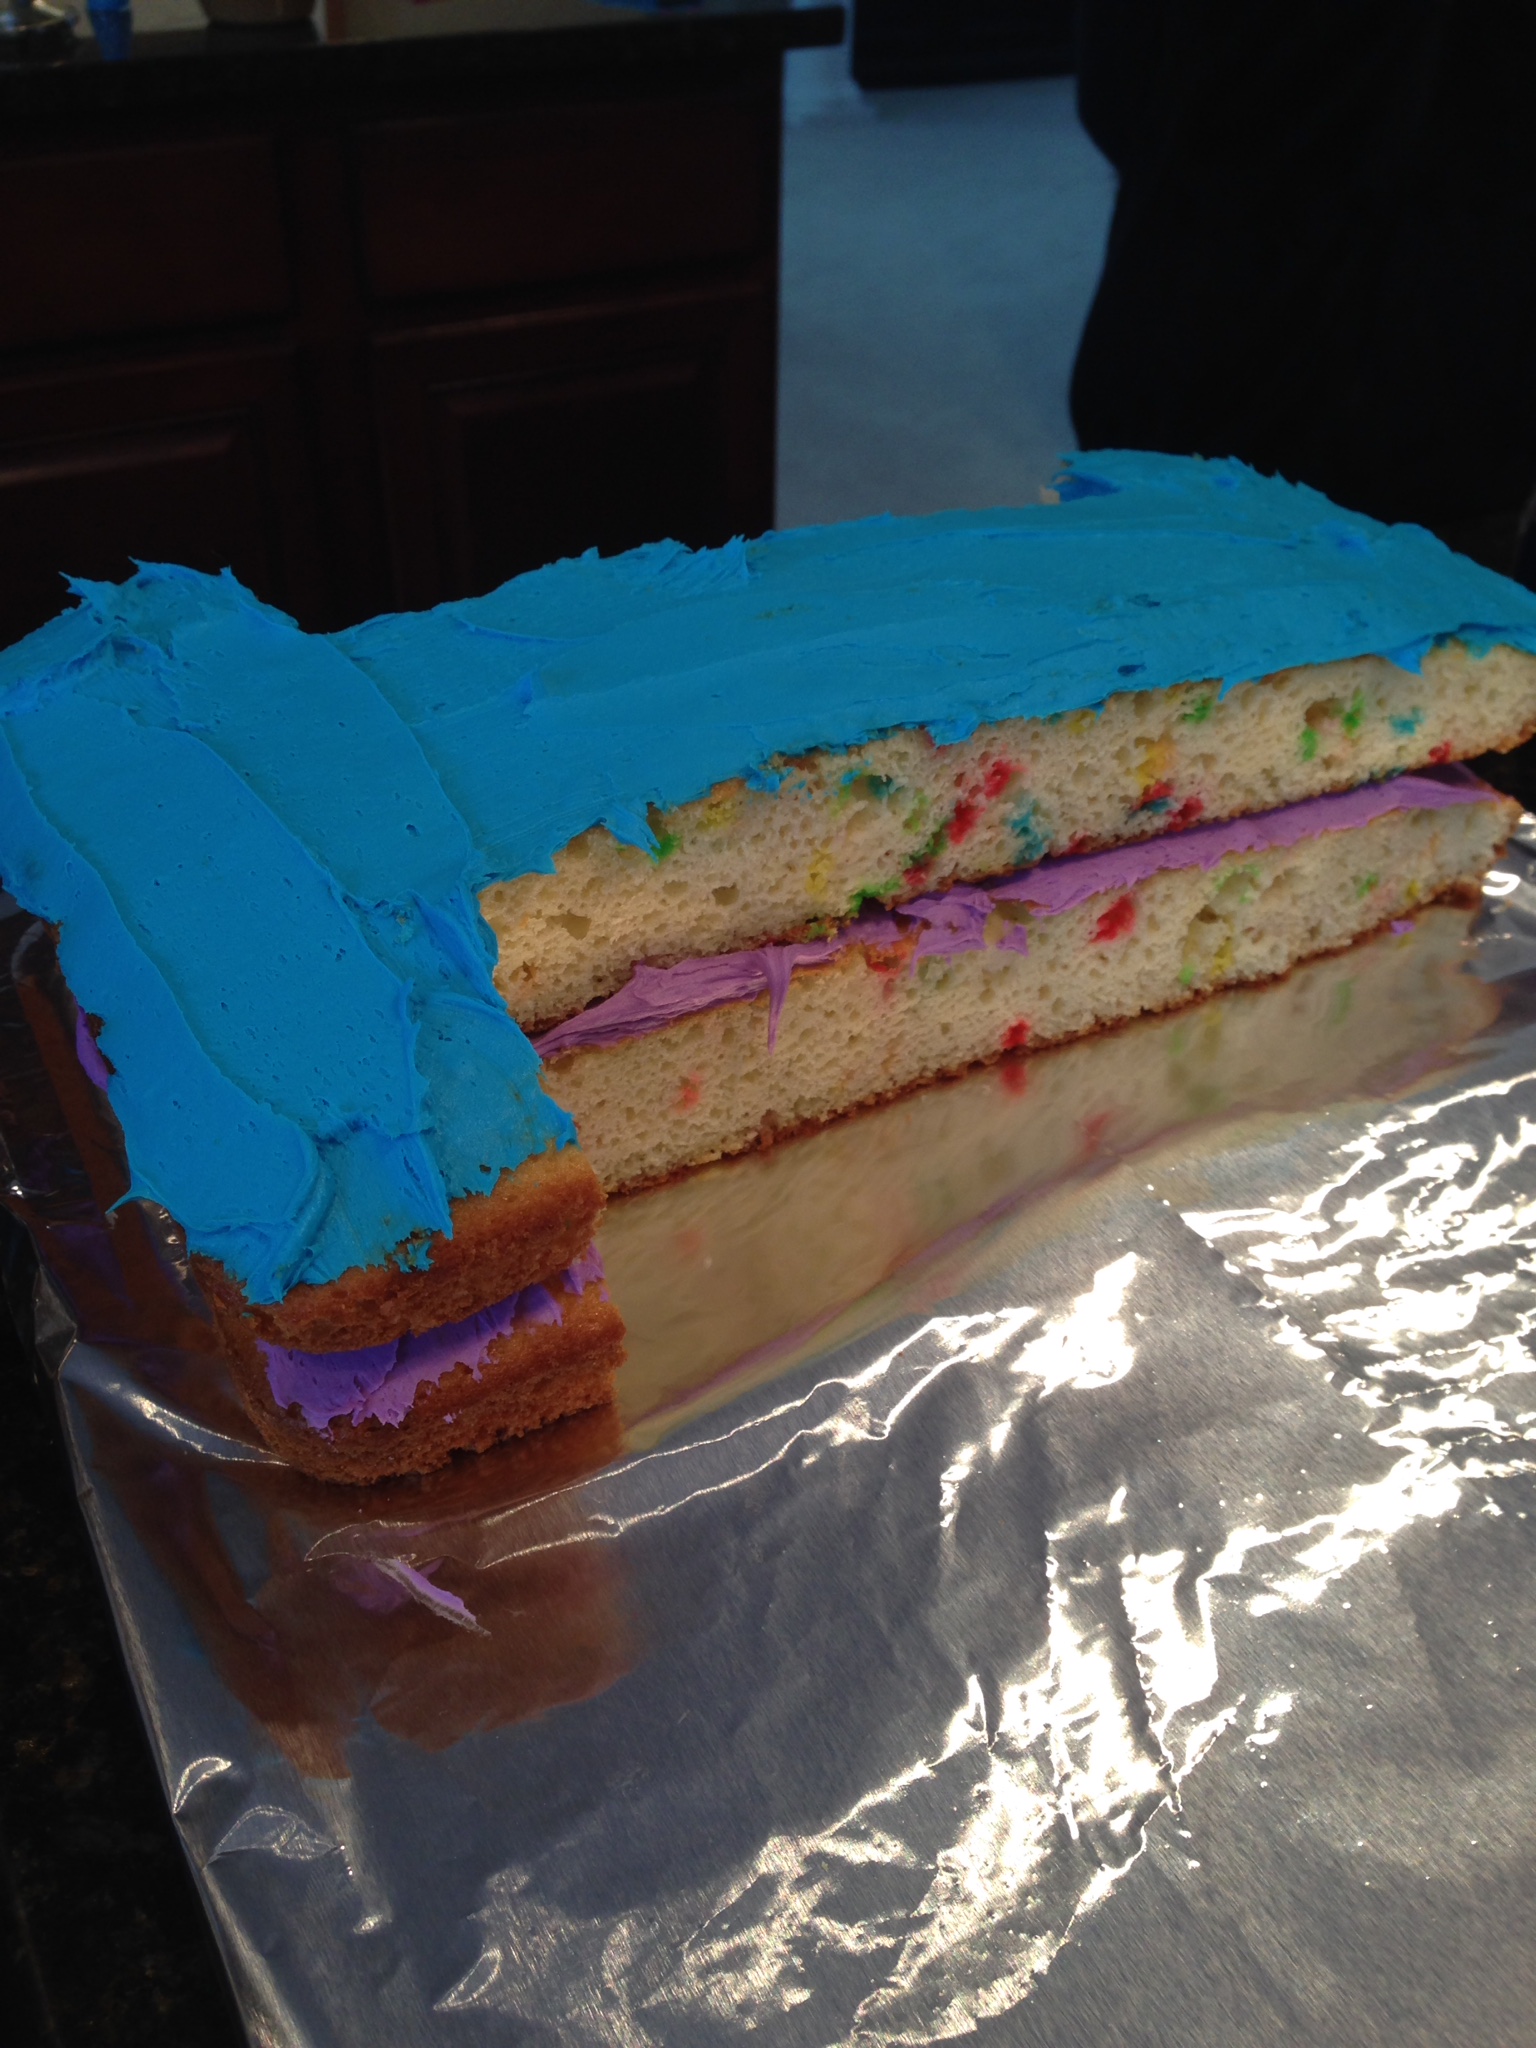
We decided a 9×13 would work well. We baked four of them because she wanted it to be a double decker. After you bake, FREEZE the cakes to make them easier to carve.
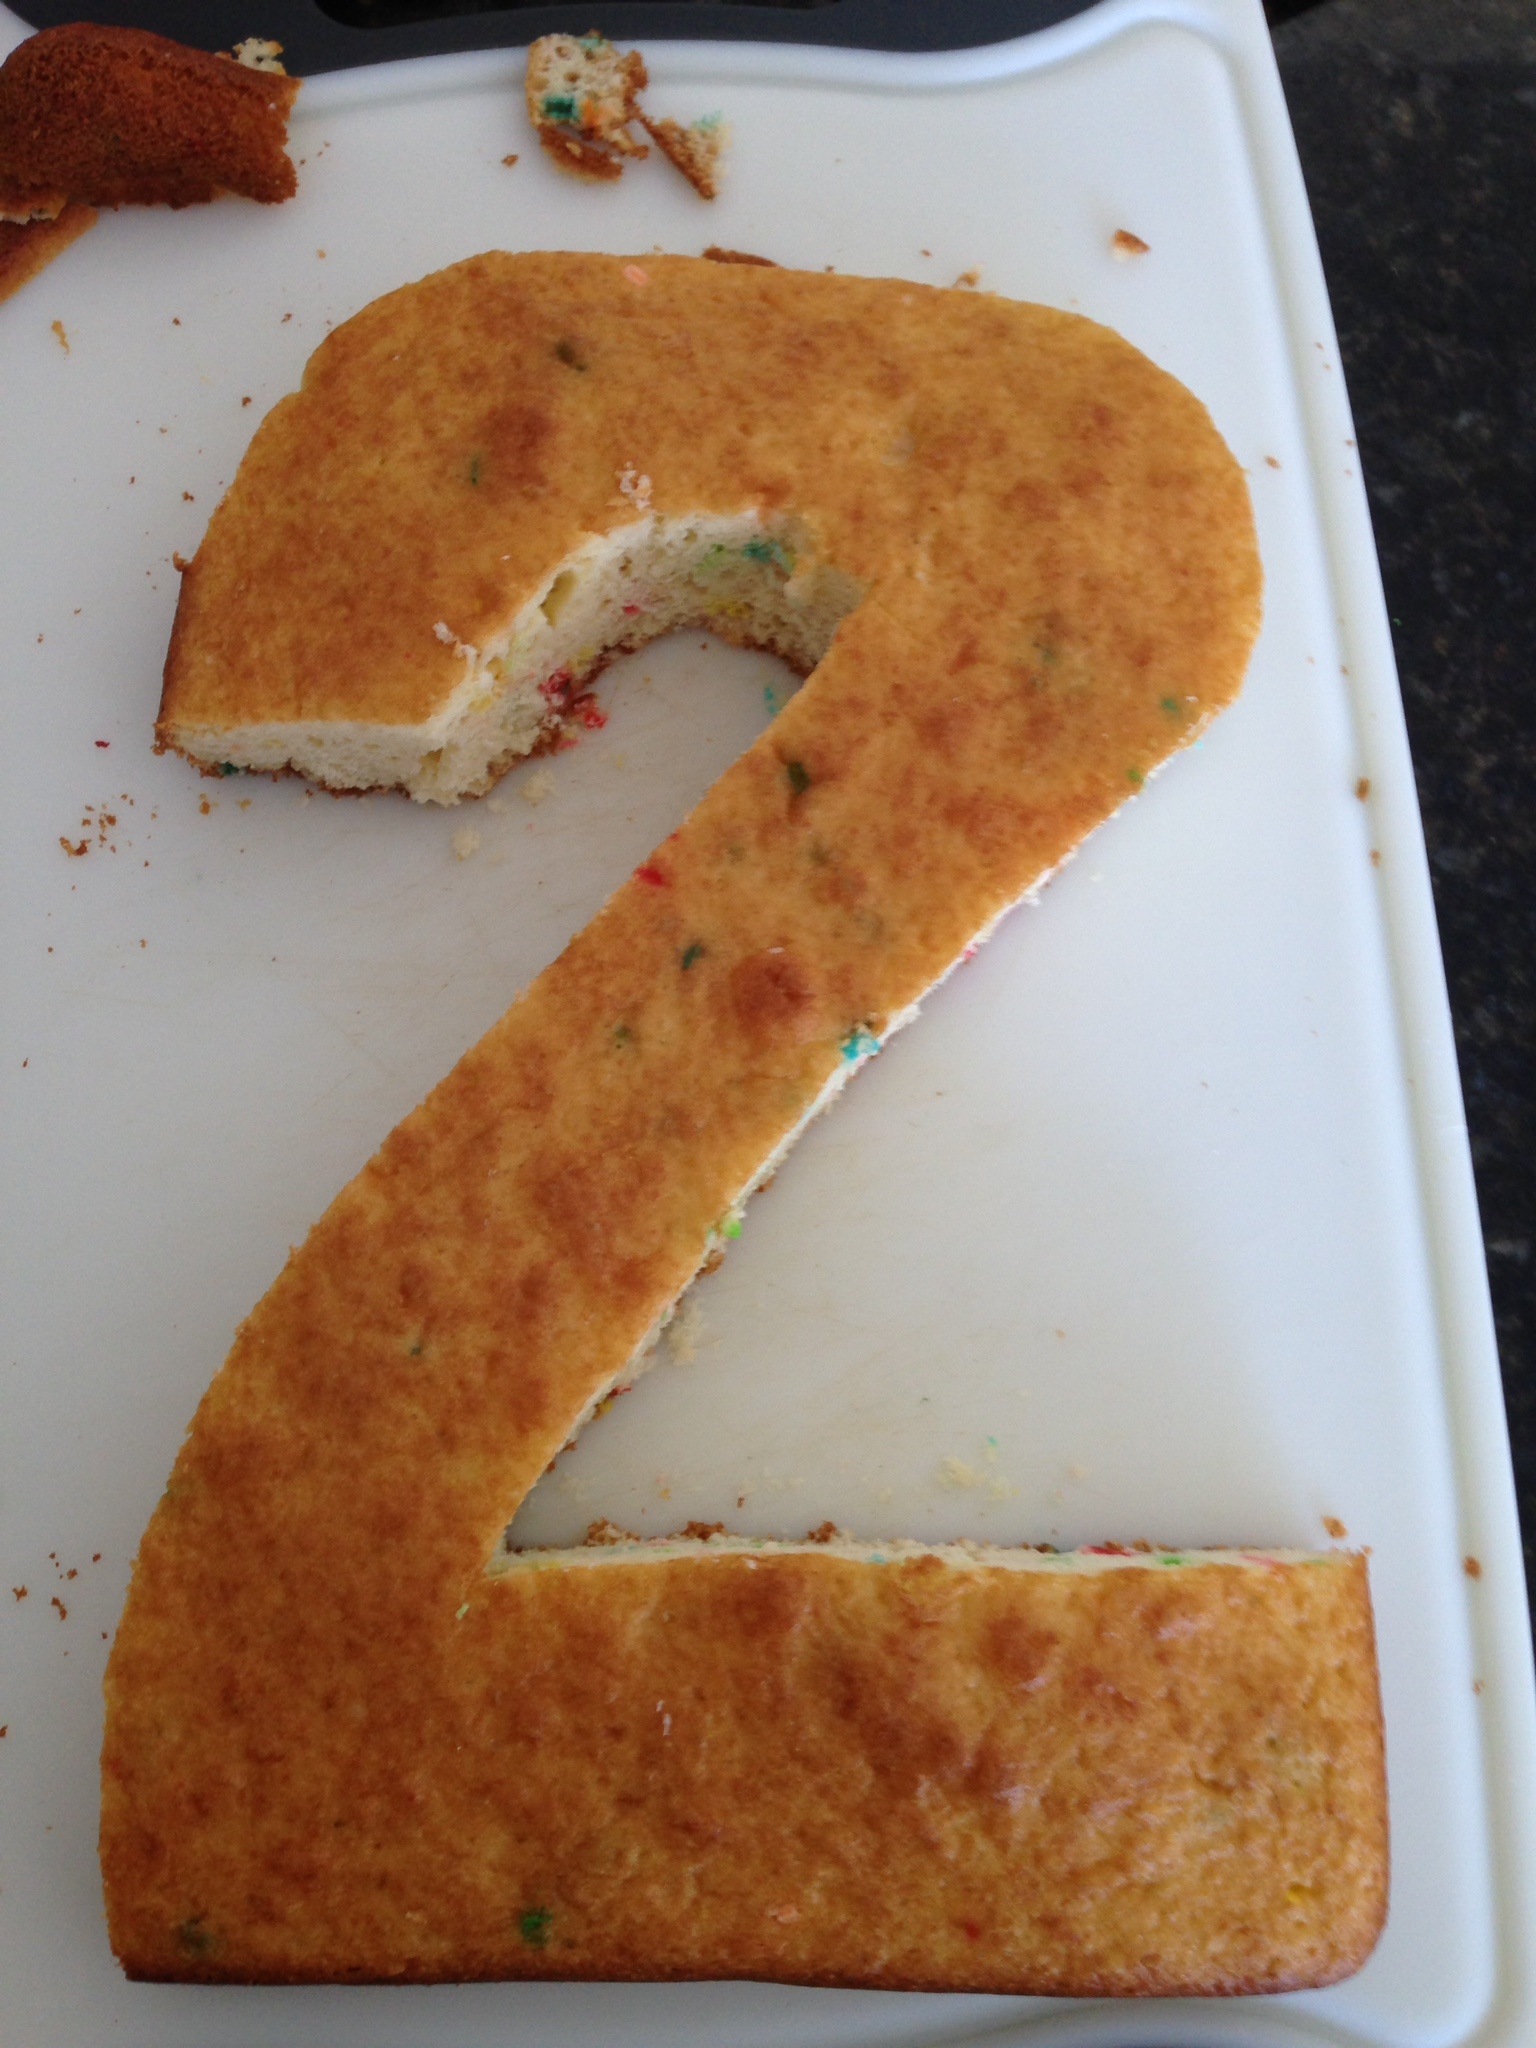
4. Carve
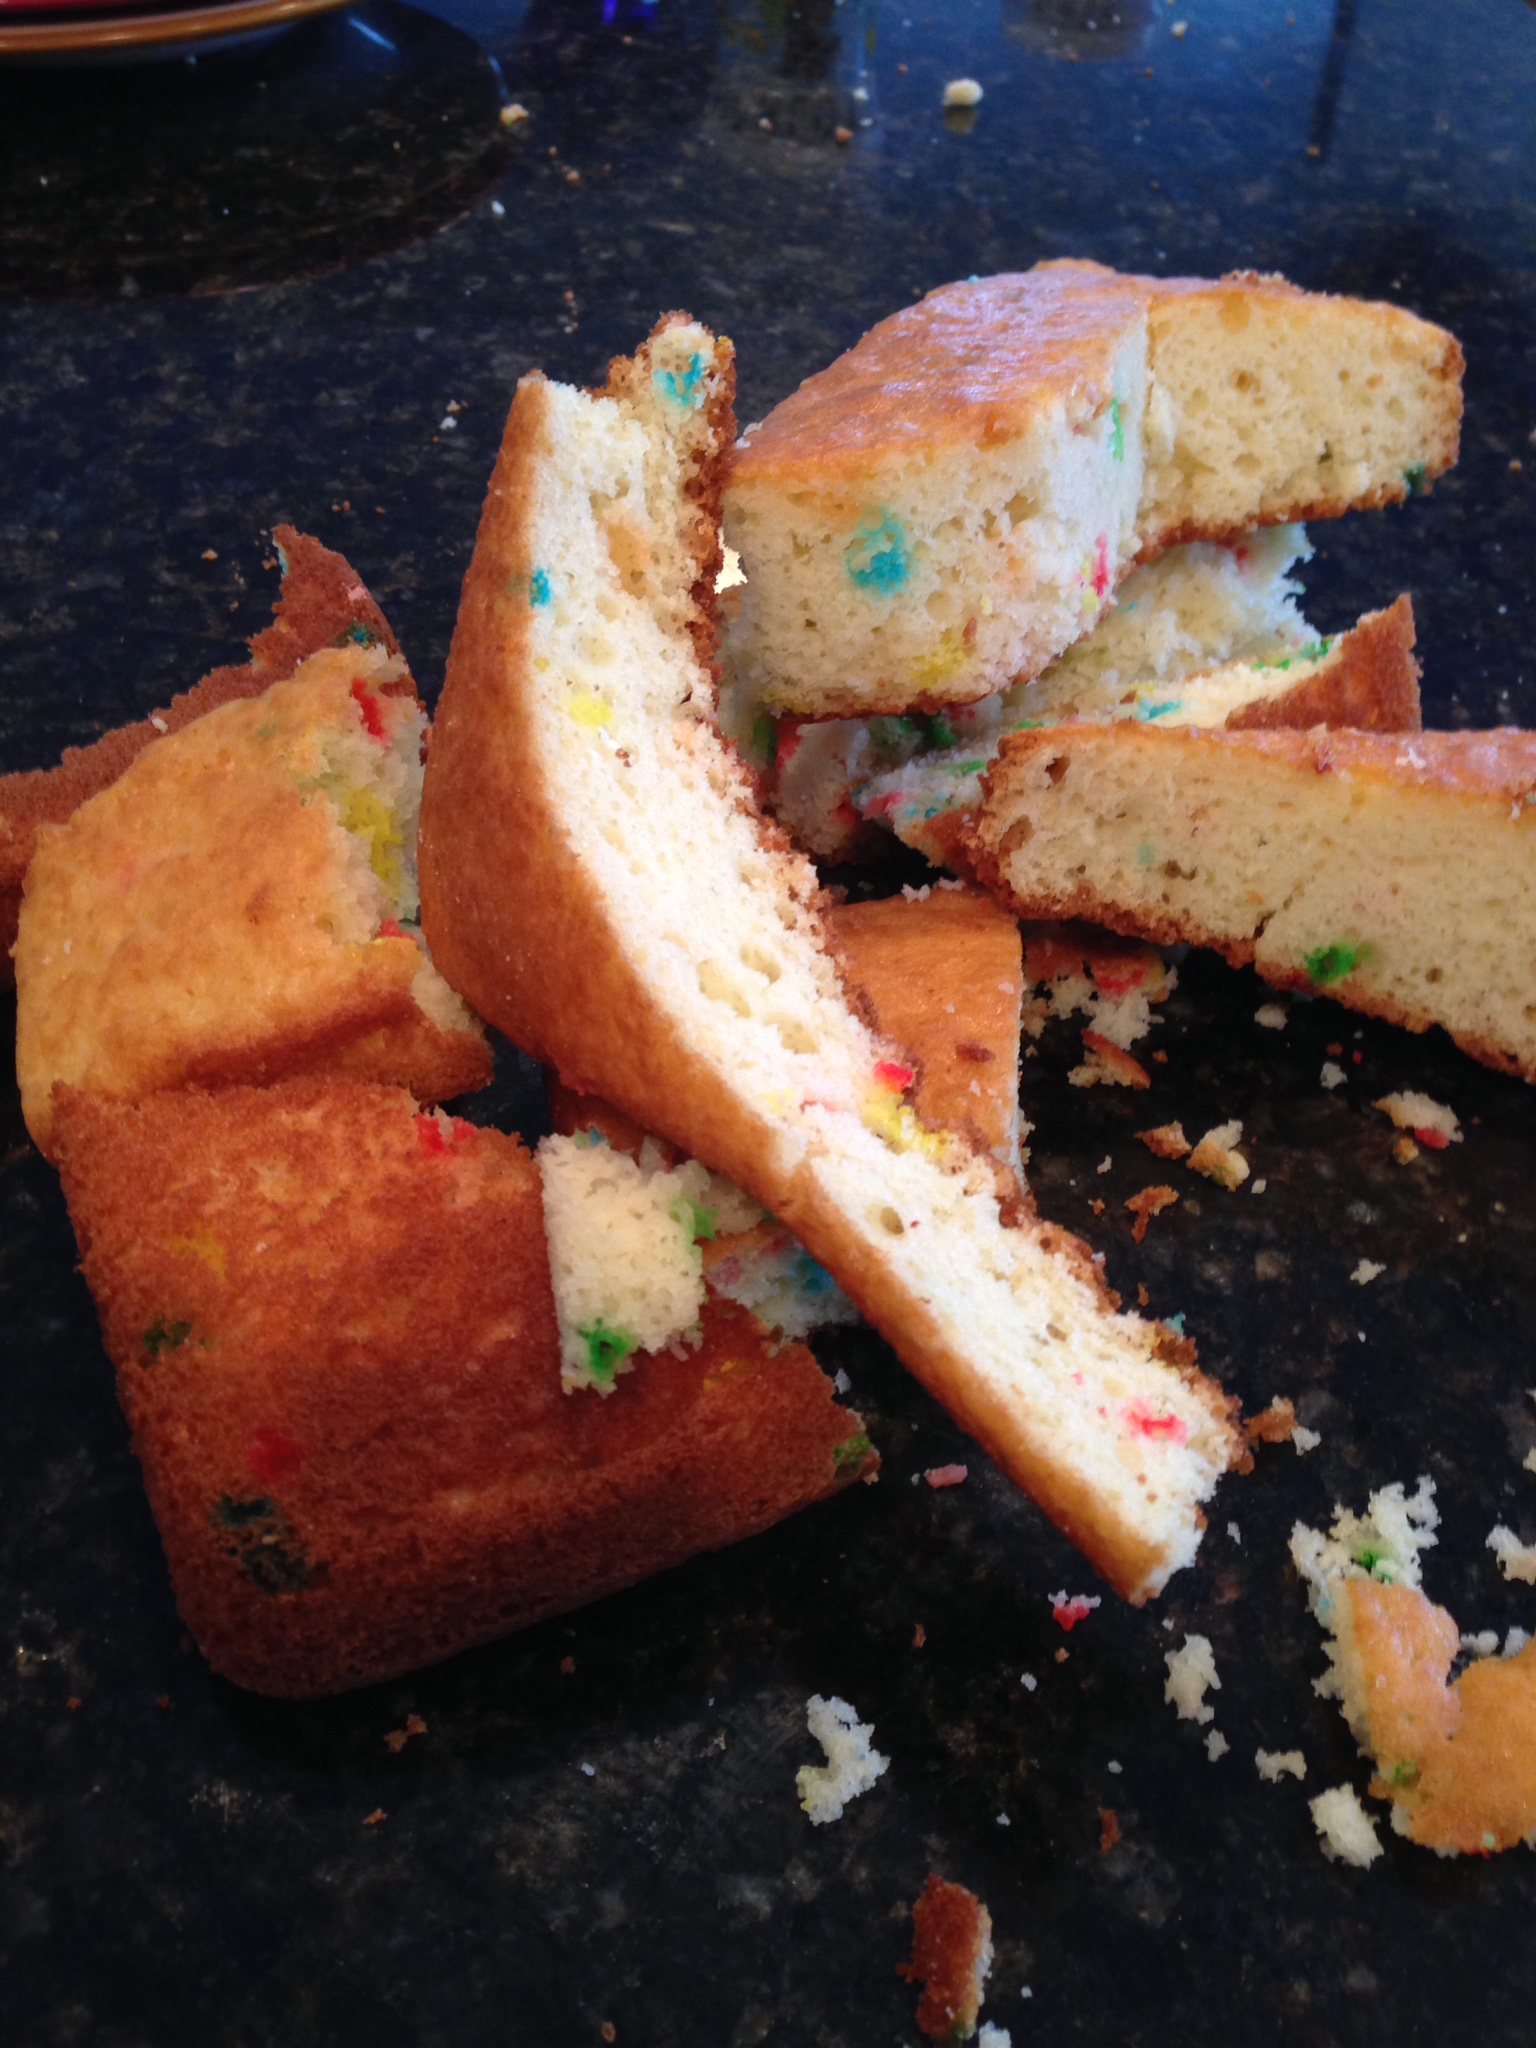
Pull out that sketch your kid drew and carve the frozen cake. To carve the next layer, I placed each carved number on top of the other sheet cakes and used them as stencils. I iced the bottom laters and then placed the tops on. Icing is easier with frozen cake, too. Here are pictures of what I mean:
5. Best part? After carving, set aside all the extras for the kids to have fun with.
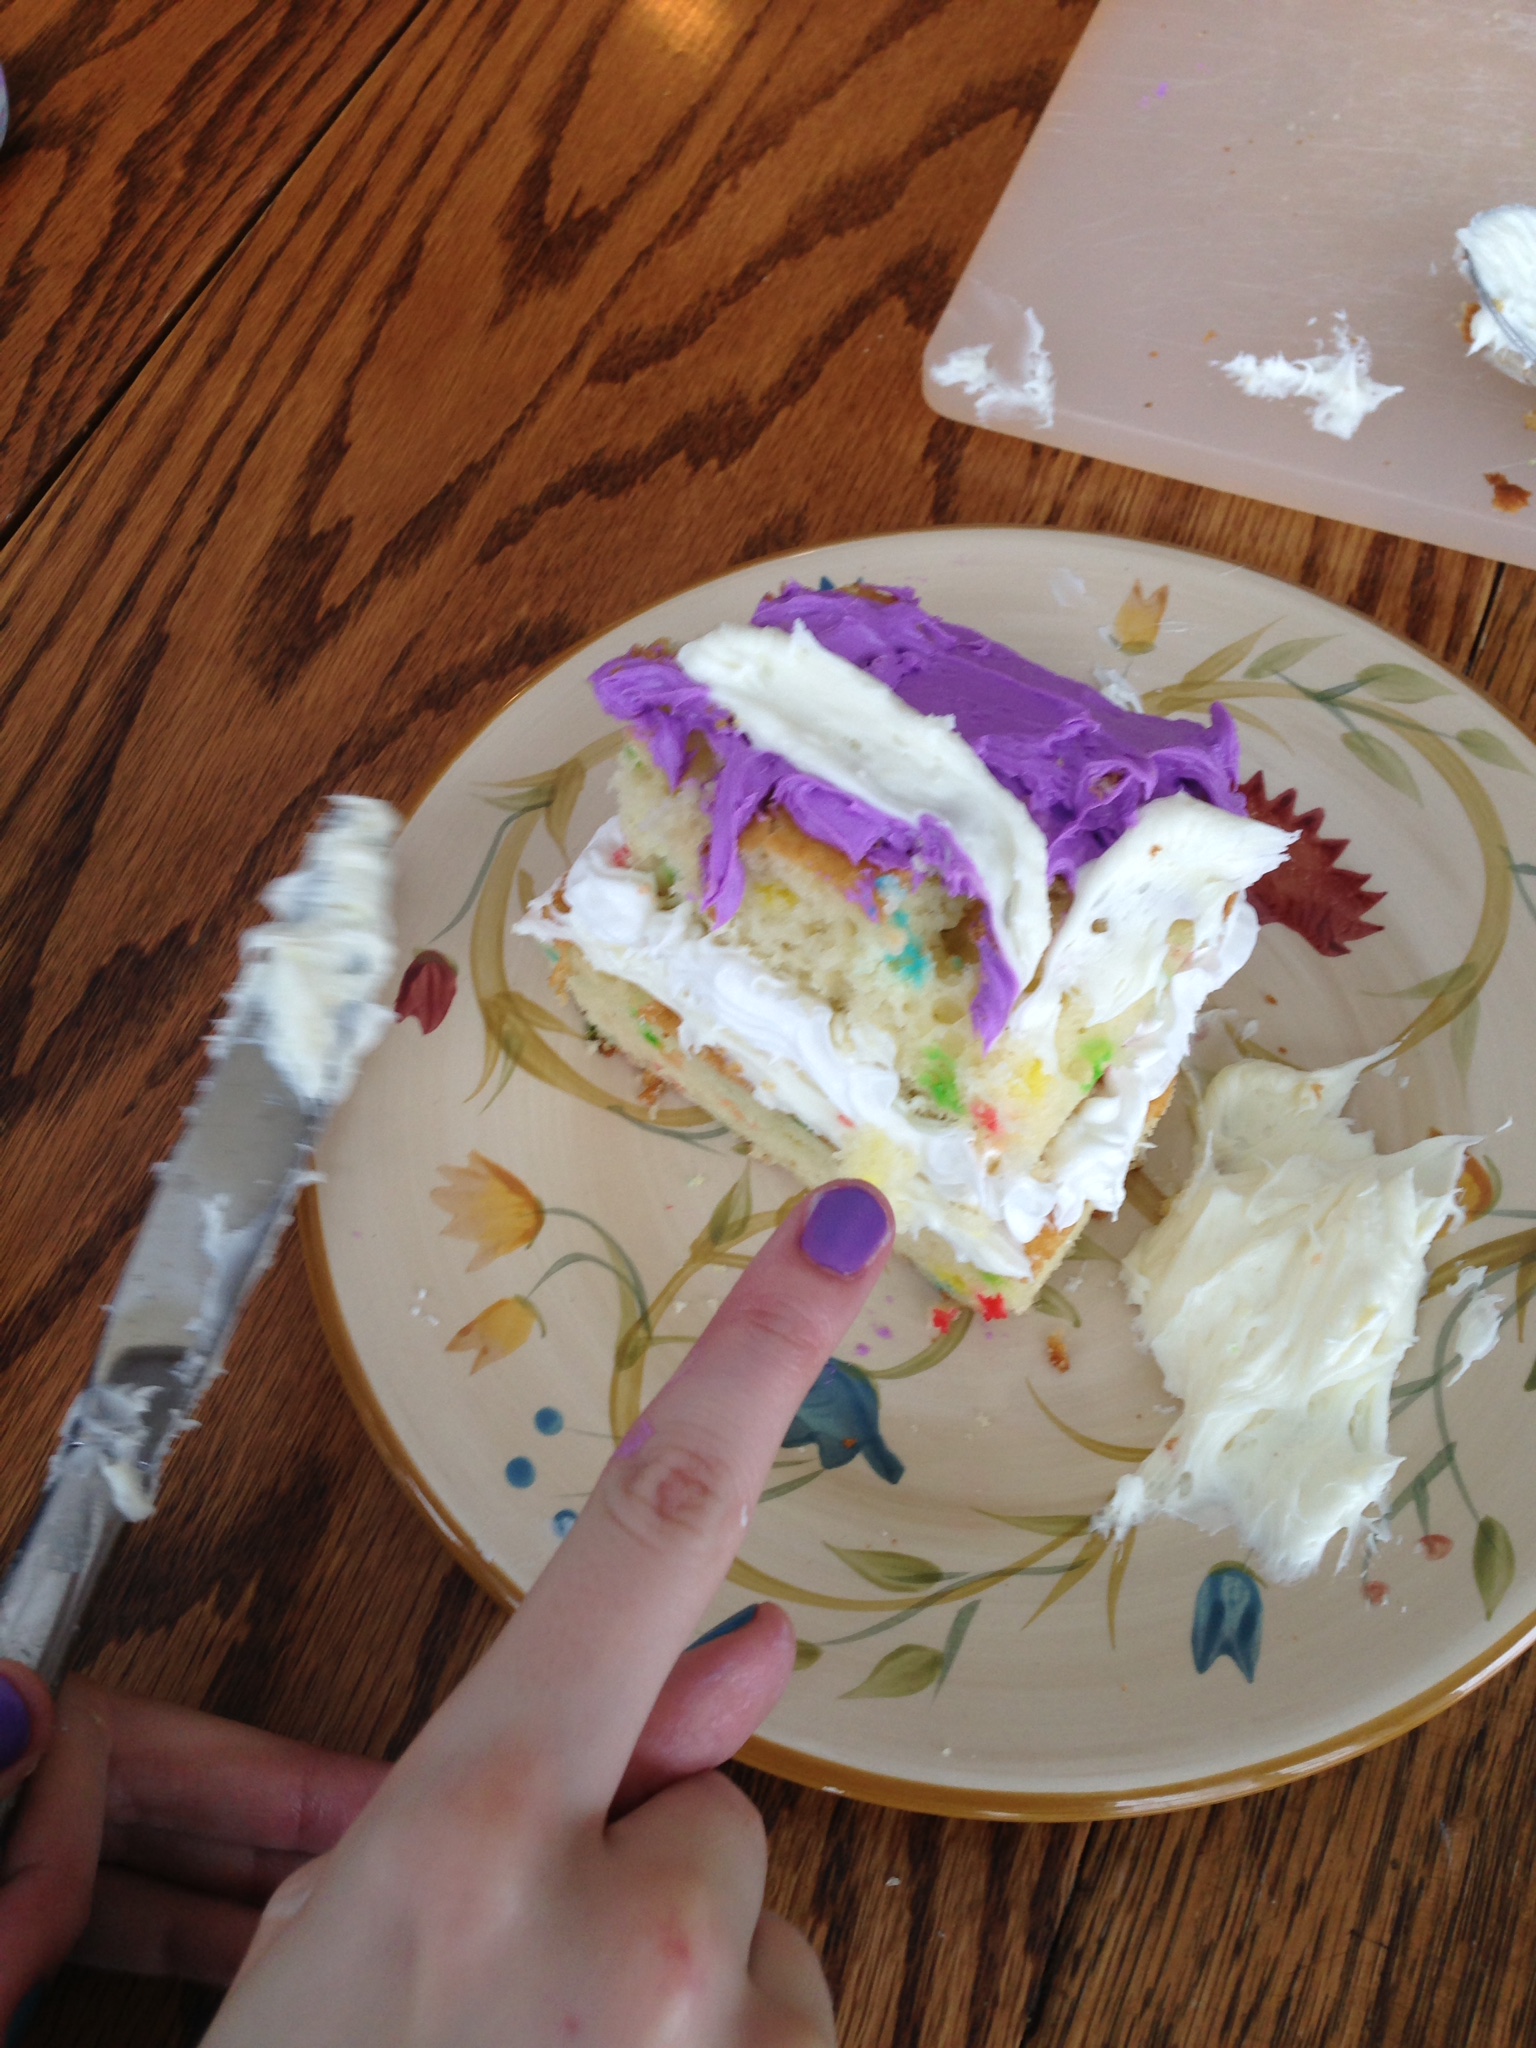
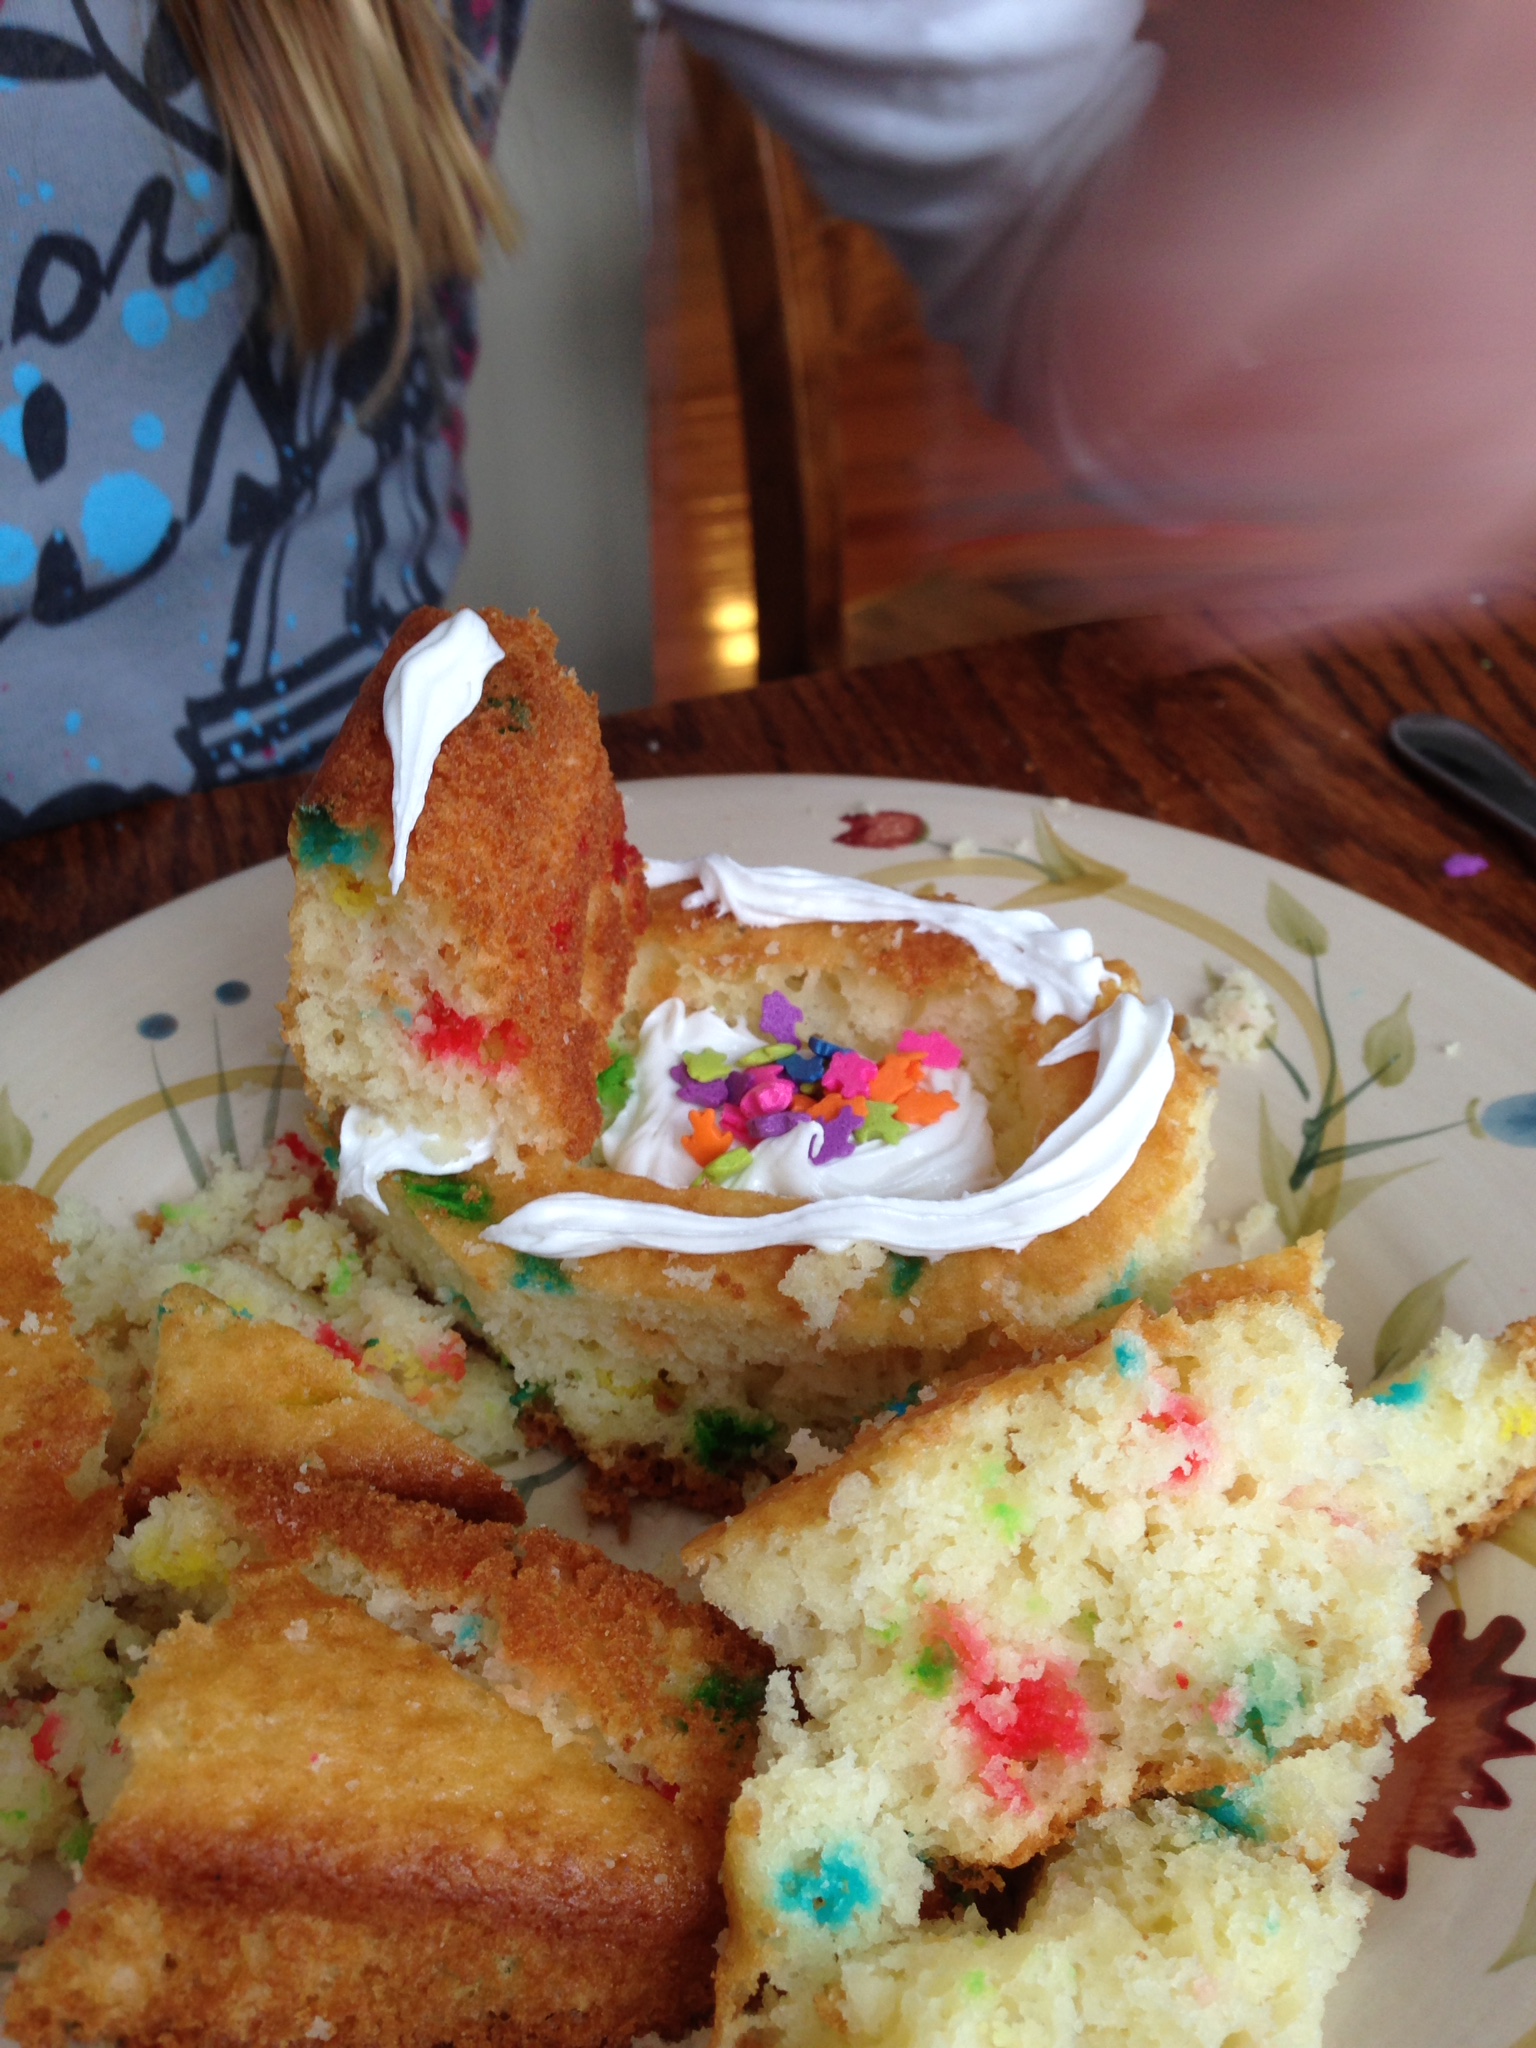 We had friends over and all six of them made their own mini creations, like this “potty cake” my 9-year-old made pictured on left.
6. Decorate
. The twelve cake was pretty straight forward. But you can get as creative as you want. We did an artist’s palette cake for my daughter’s party at the Paint Monkey art studio last year. For that one we decided on a one layer 9×13 coupled with an 8” round to go on top as the “palette.” We used a cookie cutter to carve out the hole for the palette. For a roller skate cake, we baked two 9×13’s and then put them together in an L shape and rounded the toe of the skate. Then we used licorice for the laces.
As for transporting, we’ve found it works great to place the cake on a large cutting board and then mount that on a piece of plywood.
 Now for the big reveal:
The tip about freezing the cakes to cut and ice is very good. We haven’t thought of that. That makes a big difference in the look of the final product. Thanks!
Thanks, Rick! I’ve forgotten that step before and it made a big difference. Have fun 😉
You are the greatest mom ever! Boy, does this take me back to those good-old-days of birthday fun. I particularly like the left over bits and pieces.
Nancy, you’re making me blush. But anyone can bake a cake from a box 🙂 Thank you for taking the time to comment. Maybe you can try cake carving with your granddaughter 🙂
Wow. The cake looks great and u have inspired me to bake my next cake!
Thanks, Priscilla. Send me a picture when you do. Will there by any secret ingredients? I tried broccoli in brownies, but it was a lot of work.